
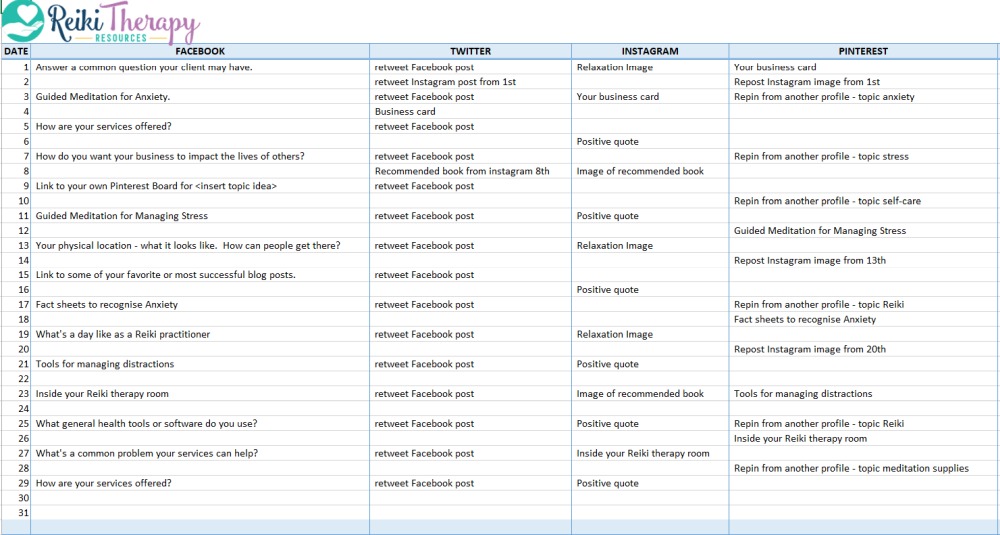
THIS POST INCLUDES:
——————————————–
1. Using images on your Reiki blog
2. Types of images to use on your Reiki blog
3. Websites with Free Image Resources
4. How to use SEO with your images
5. Free Tip Guide for Using Images on Your Blog
USING IMAGES ON YOUR REIKI BLOG
Using images amongst your blog content can help break up larger sections of text. Using images can also provide context to your written content by illustrating important points that you are trying to explain. Many readers absorb information in a variety of ways including text, audio, video, and images. Therefore, images can help reinforce your readers understanding of your content.
To make the most effective use of your images, you should include terms that are relevant to the keywords used in your blog content when creating titles for your image. If your picture shows an image relevant to reiki then it is helpful to name your file reiki-tips.jpg instead of a default title such as photo001.jpg. You should try and keep your file name titles to a 3-5 word minimum range so that you have an opportunity to meaningful keywords but not make your file name too lengthy.
PROTECTING YOUR IMAGES
It is great if you can use your own images on your blog posts as that way you will ensure that you retain control over when and how you use it on your website. You can choose to add a watermark or your Reiki practice name somewhere on the image.
This isn’t a foolproof method of preventing use of your image, however, it can act as a deterrent. If someone uses your image without your permission, at least your name will appear on the image as a watermark. This lets other readers know the source of the image.
Below is an image that illustrates how you can use watermarks on your images.
The first image has the logo and website address at the bottom right hand corner. It shows the owner of the image and is not obstructing the view of the image. The downside is someone can crop out this section of the photo and use the photo.![]()
The second image shows the website at the lower right hand corner of the owner of the image. In addition to that text, another transparent website name has been added to the middle of the image. The opacity of the text is set at 20% so that the image doesn’t completely cover the image. With the transparent name across the middle of the image, this means it is more difficult for others to crop out your name. The downside is that the watermark can detract from the overall image, however, this may be a compromise you are willing to make to add protection to your images.
![]()
The method that you choose to use will depend on how you would like your images to look on your blog and the amount of time and effort you want to put into protecting your images.
The images above were watermarked using Adobe Photoshop, however, if you don’t own Photoshop you can find some free resources below that will add a watermark to your own photos:
- uMark Online
- Watermark (free version has usage limits)
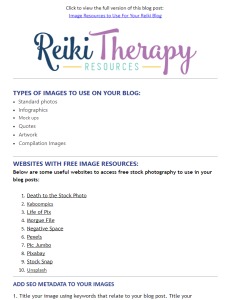
TYPES OF IMAGES TO USE ON YOUR REIKI BLOG
You don’t need to use the traditional idea of photos (pictured below) for your images.
![]()
You can also create images based on information that might be contained in your blog post. Examples of each type of image are included below:
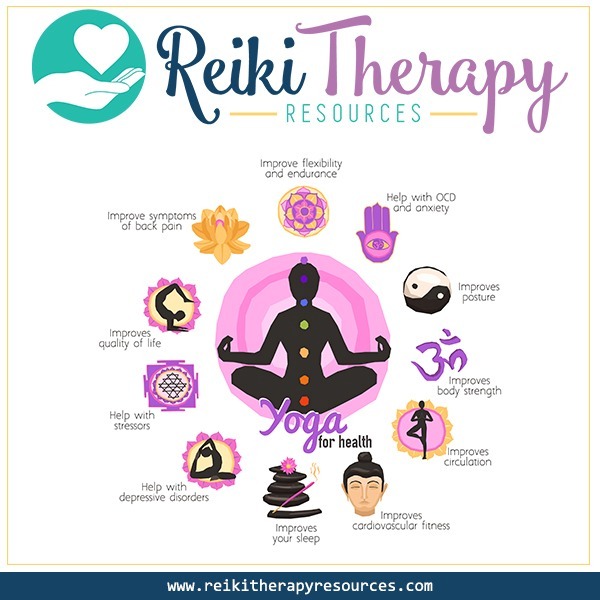
INFOGRAPHICS are a visual representation of data or information using a chart, diagram or flow process.
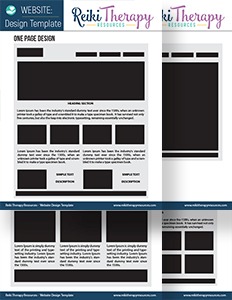
MOCKUPS are a representation of a design that provides the viewer with a snapshot of how the final concept will look before building or creating it.
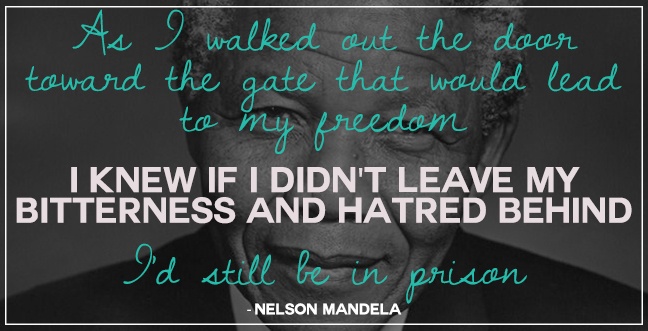
QUOTES can be used to inspire and motivate readers. The simple text of a quote can be transformed by including some images and design.
ARTWORK can be used to illustrate concepts or simply as a decorative element to your blog post.
COMPILATION IMAGES are used to create an overall picture of a story using multiple images that stand alone but are used collectively for the purpose of showing the reader an overall concept.

SCREENSHOTS are taken from computer screens and digital devices to provide insight into how a digital process looks so that the reader can see how something might work.
WEBSITES WITH FREE IMAGE RESOURCES
If you don’t own your own images to use on your blog, you can source images from websites that provide photos created by others. You shouldn’t download any images from the internet and assume you have permission to use the image.
Using websites with stock photography means the images contained on the website are permitted for use by the creator. Each website will have its own guidelines which detail the ways in which you can use the photos. Some may provide you with open use or place restrictions on whether you can use the images on a website only or use them to create printed products for sale.
Below are some useful websites to access free stock photography to use in your blog posts:
HOW TO USE SEO WITH YOUR IMAGES
When you are ready to add your images to your blog you should consider a few tips on how you can apply best practice to using your images on your website so that Google and other search engines will use the data contained in your image to improve your content searchability.
Add SEO metadata
Images are not read the same way text is by search engines. With this in mind, you should include some information in your image to increase the likelihood of search engines ‘reading’ your images correctly. Website platforms such as WordPress can assist you in including this information as they provide fields such as alt text, captions, and descriptions.
1. Title your image using keywords that are related to the content in your blog post. For example, name your image file reiki-tips.jpg, not photo001.jpg
2. Add alt text to your image when uploading it to your website. Platforms such as WordPress provide space for this.
4. Add a meaningful title to your image that relates to your content when uploading it to your website.
5. Add a relevant description to your image that relates to your content when uploading it to your website.
6. Add a relevant caption to your image that relates to your content when uploading it to your website.
Adding the type of information as mentioned above helps with SEO as well as sharing on social media platforms such as Pinterest.
FREE DOWNLOAD
You can download a summary of this post through this Evernote document. You can save this note to your own Evernote account for future reference.
If you don’t have an Evernote account, you can still view the Evernote document even if you do not use Evernote.
BUILD YOUR REIKI REFERENCE MATERIALS:
Pin this image to your Pinterest board.

SHARE KNOWLEDGE & PASS IT ON:
If you’ve enjoyed this post, please share it on Facebook, Twitter, Pinterest. Thank you!